

November 2019 | Mismatched Buttons (A Monthly Journal)
Philippa-looza!
One pair in teak duck cotton canvas, one pair in rigid selvedge denim, all Philippa, all fabulous, I dub November, 2019: Philippa-looza!
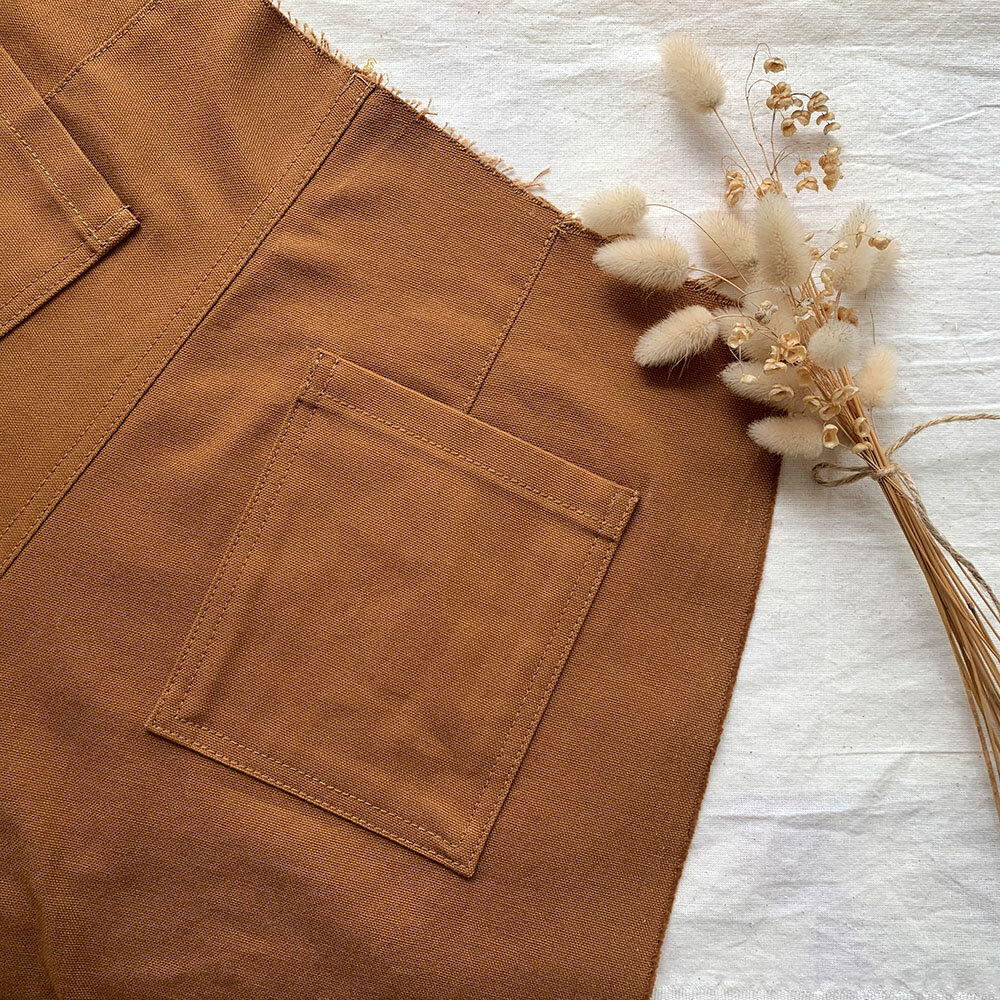
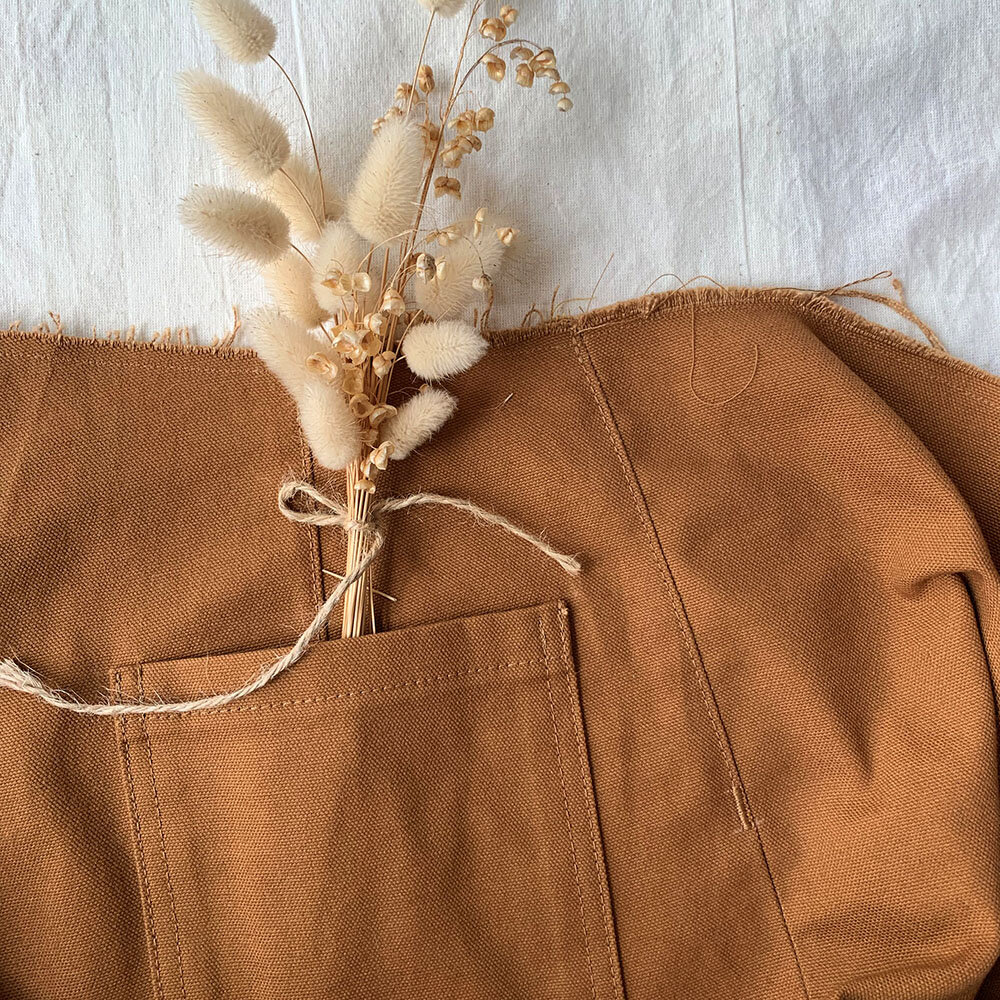
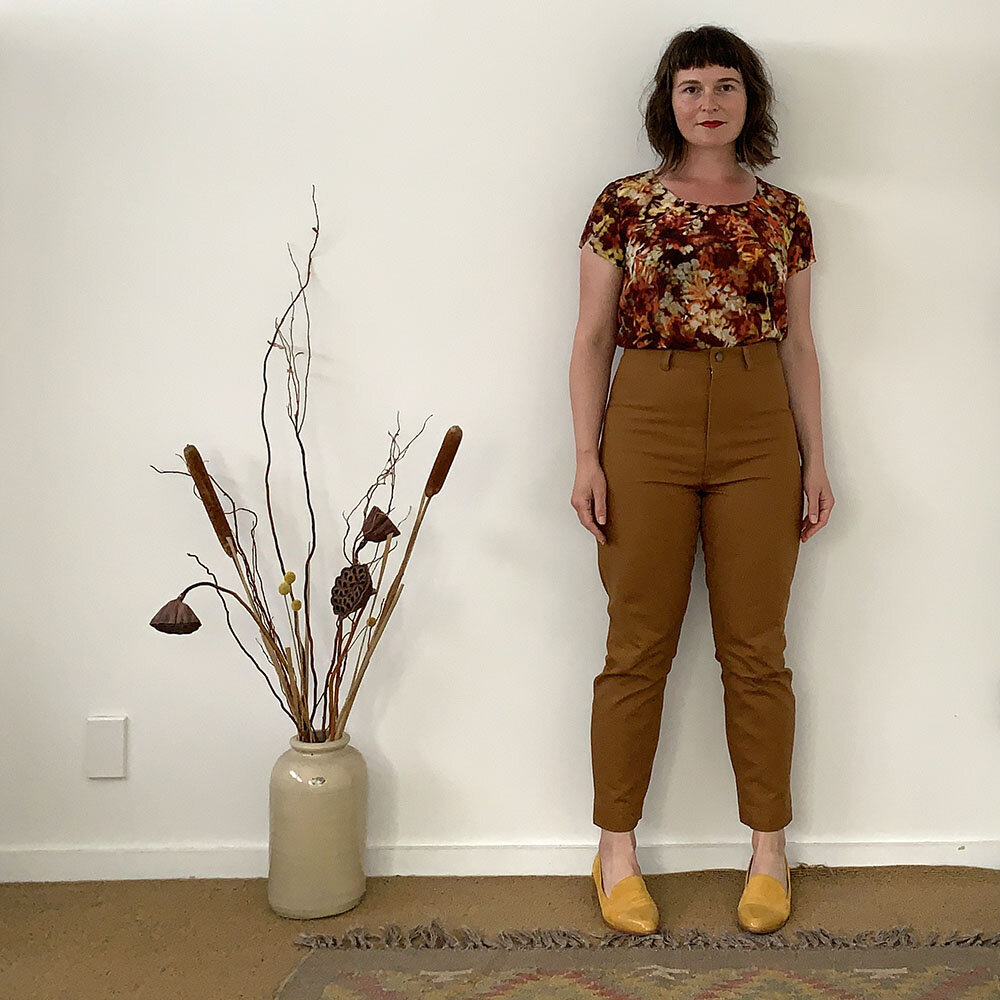
Teak Toile
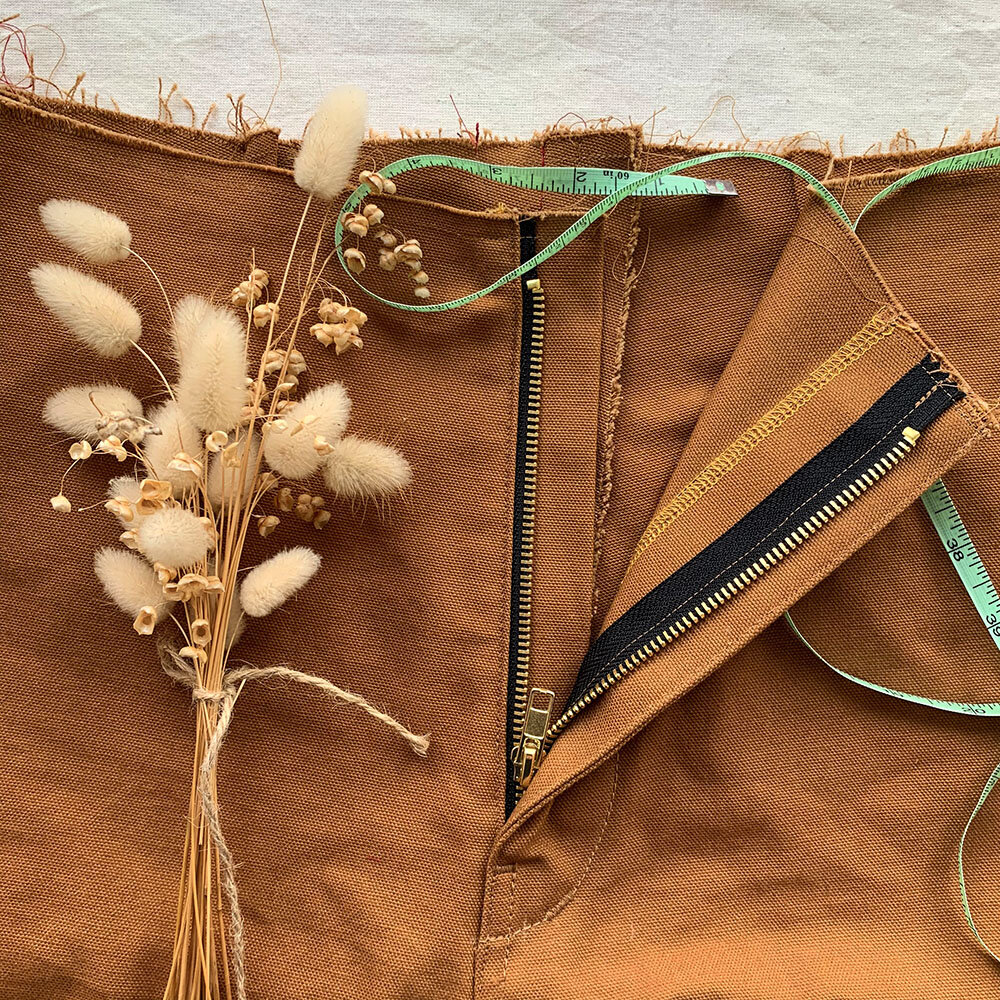
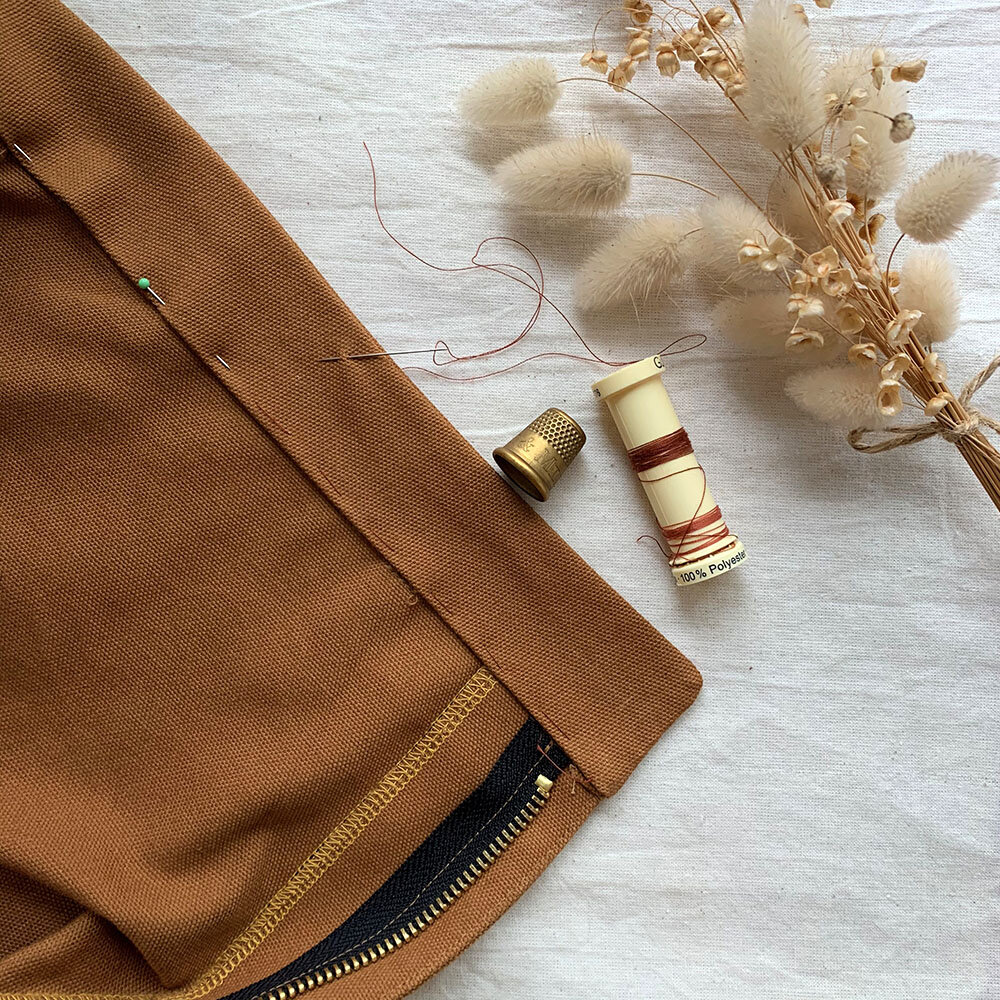
After the success of my Persephone Pants, I was itching to make the other of Anna Allen’s pants patterns, the Philippa Pants. Designed with selvedge denim in mind, the inseam of this pattern is a straight line with a leg that tapers inwards towards the ankle, and unlike the Persephone Pants, the Philippa Pants have a side seam. With a much less dramatic silhouette than the Persephone Pants, the Philippa Pants felt like a brilliant, more every-day addition to my wardrobe. For all my Anna Allen pants I have used the zipper extension, purchased as a separate set of instructions, but usable with both patterns.
I had enough of the teak duck cotton canvas I bought from Blackbird Fabrics to make a wearable toile of the Philippas, so in October, I started there, by cutting out a size 12. The pants were put on the back burner for a little while I completed some other sewing projects, but come November, I was literally waist-deep in figuring out how to tweak these pants for my leg shape.
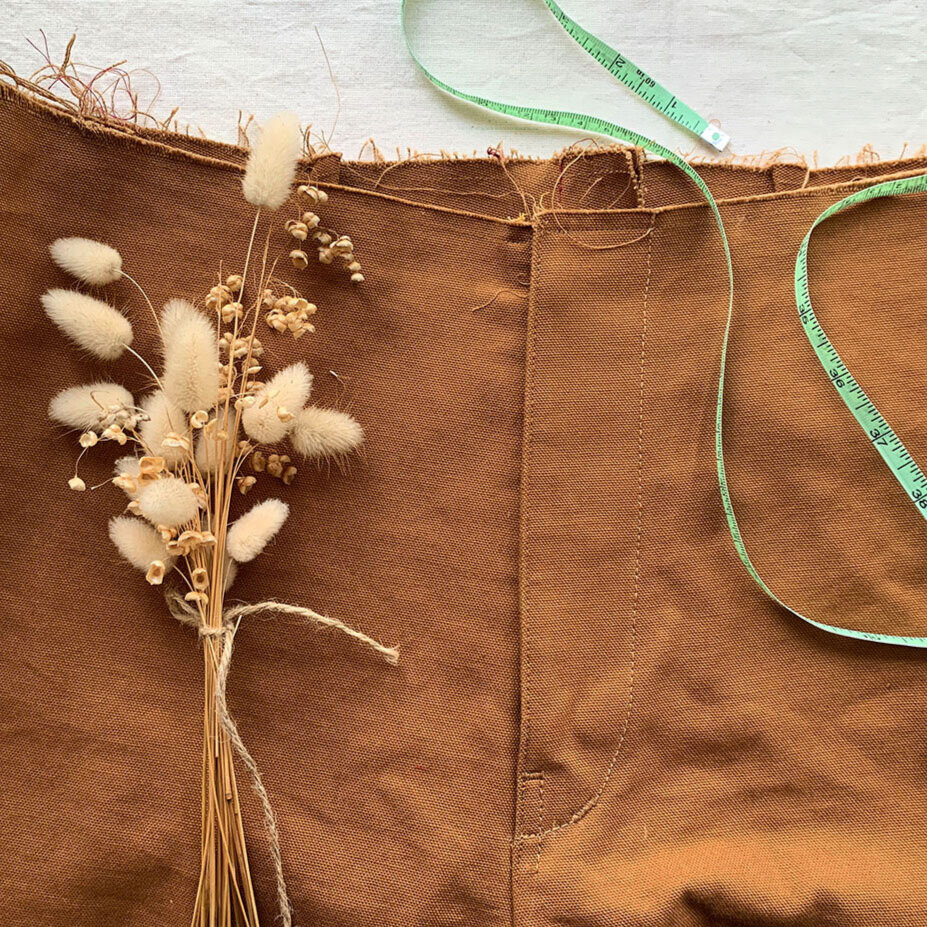
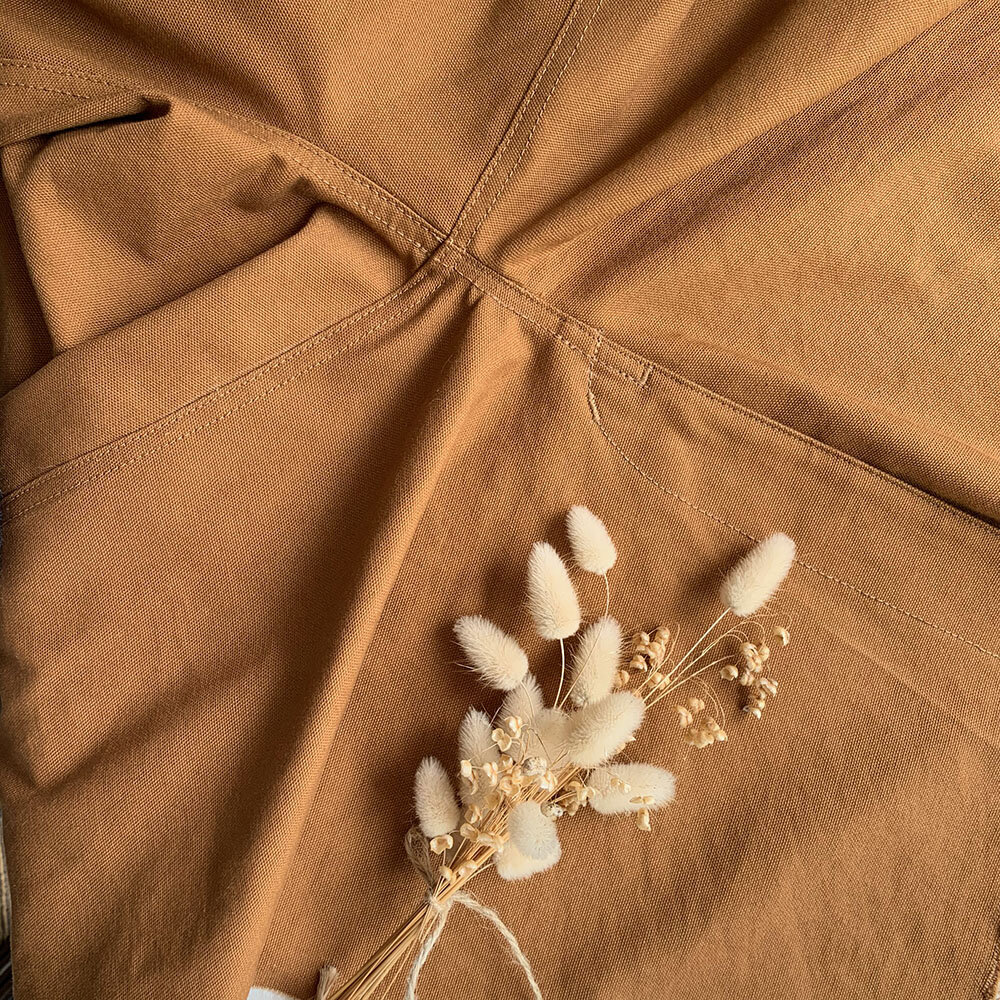
With a baste-fit, I realised that, much as I love the idea of that straight inseam, I prefer a more fitted shape, particularly through the knee. I also realised that a size 12 was too big for me, although it was useful to have the extra seam allowance for all the adjustments I ended up making. My adjustments were fairly adhoc and done on the fly, but here’s what I did, some of which are marked in the below photograph:

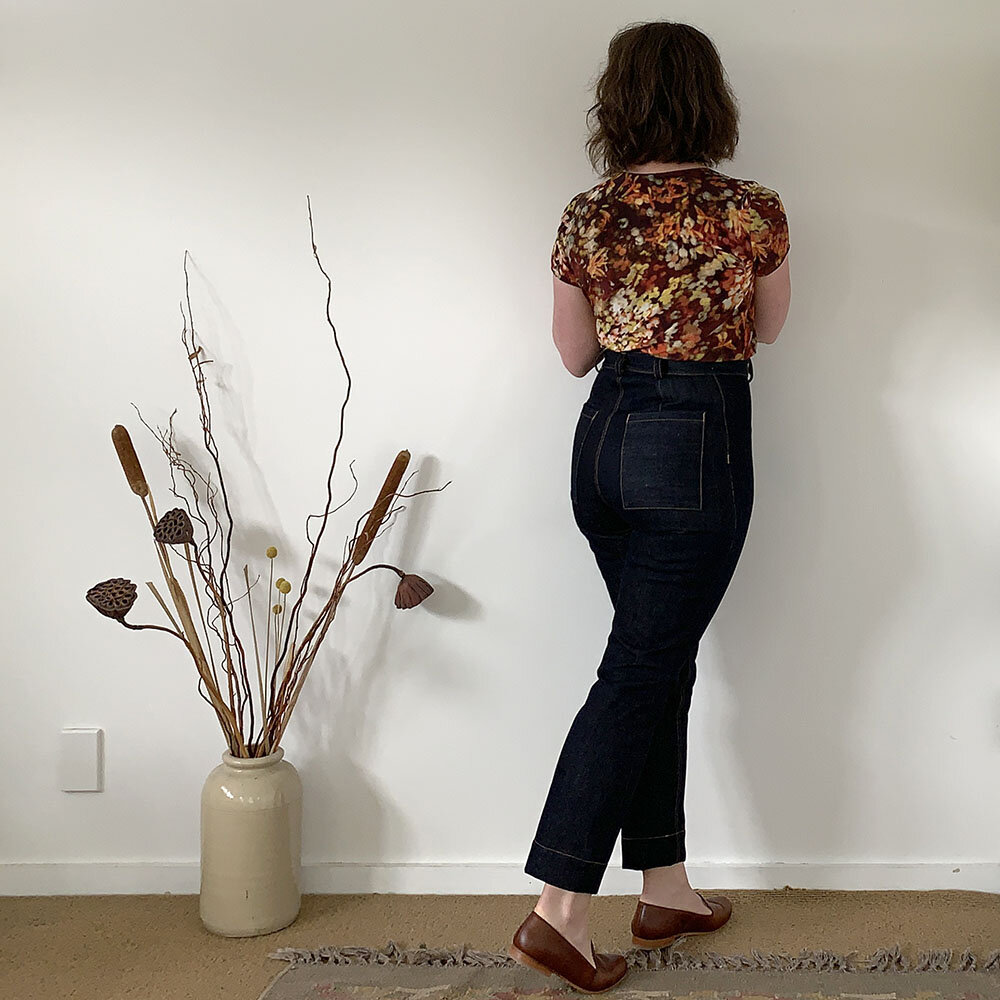
I made several flat-pattern adjustments before starting, including extending the back rise by 12mm for my sway back, shortening the leg by 40mm and making a curved waistband.
Because of my sway back, I took a reasonable amount out of the centre-back seam, as well as nipping in the back pattern piece’s side seams at the waist
I have quite pronounced quads but less going on at the back of my thighs, so I removed fabric particularly from the back pattern piece.
I made both pattern pieces curve in quite a lot at the knee.
But, to accommodate my magnificent runner’s calves, I had to sew with a fairly scant seam allowances below the knee.
What I found so engaging about this process of fitting my legs was realising that it wasn’t just a matter of taking equal amounts out of the back and front pattern piece. I had to work out where my legs needed room and where they didn’t: more in the front thigh, less in the back; more out of the back waist side seams, none out of the front waist side seams; more here and less there. It’s knowing, literally, the ins and outs of your body.
The next step will be to figure out if and how these adjustments affect grainline, but setting that aside for now, it felt really cool to start to problem solve my way to better fitting pants.
To aid this process I used the very helpful fitting supplement that Anna Allen has written. This booklet was so great to have on hand and I highly recommend having a read-through of it before you start your Philippas.
I mentioned above that the Philippa Pants have a side seam, which is different from the Persephone Pants. This is quite material: I found it difficult to get a good fit on the crotch of the Persephone Pants, ultimately deciding that good enough was good enough and who’s going to look at my crotch that much anyway? It was when I was sewing up the Philippa Pants that I realised how much easier it was to fit the crotch with the presence of side seams. I still don’t think it’s a perfect fit, but it was much easier!
Now, although this is a material thing to consider, I’m in no way bagging the super-cool pattern that Anna Allen has developed! I love the idea of that absence of those side seams in the Persephone Pants! But I thought it might be useful to know if you, too, struggled with the Persephone crotch.
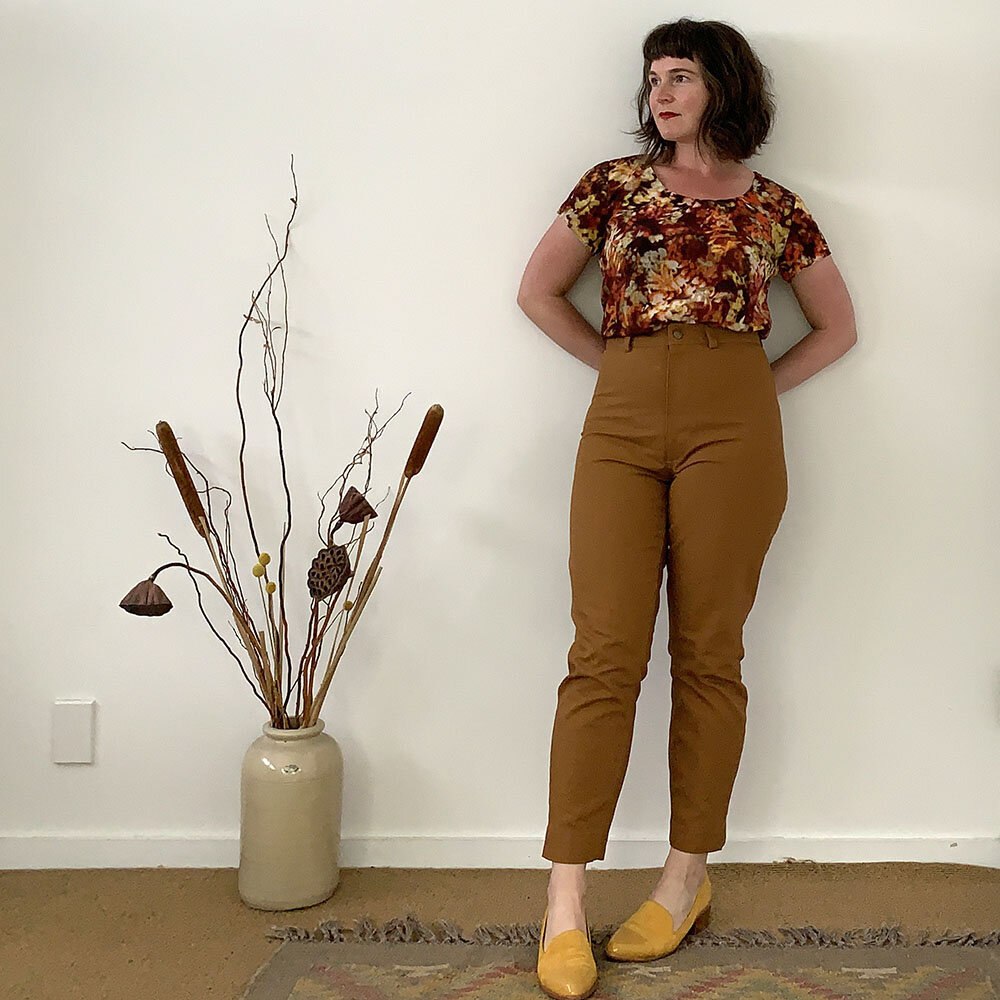
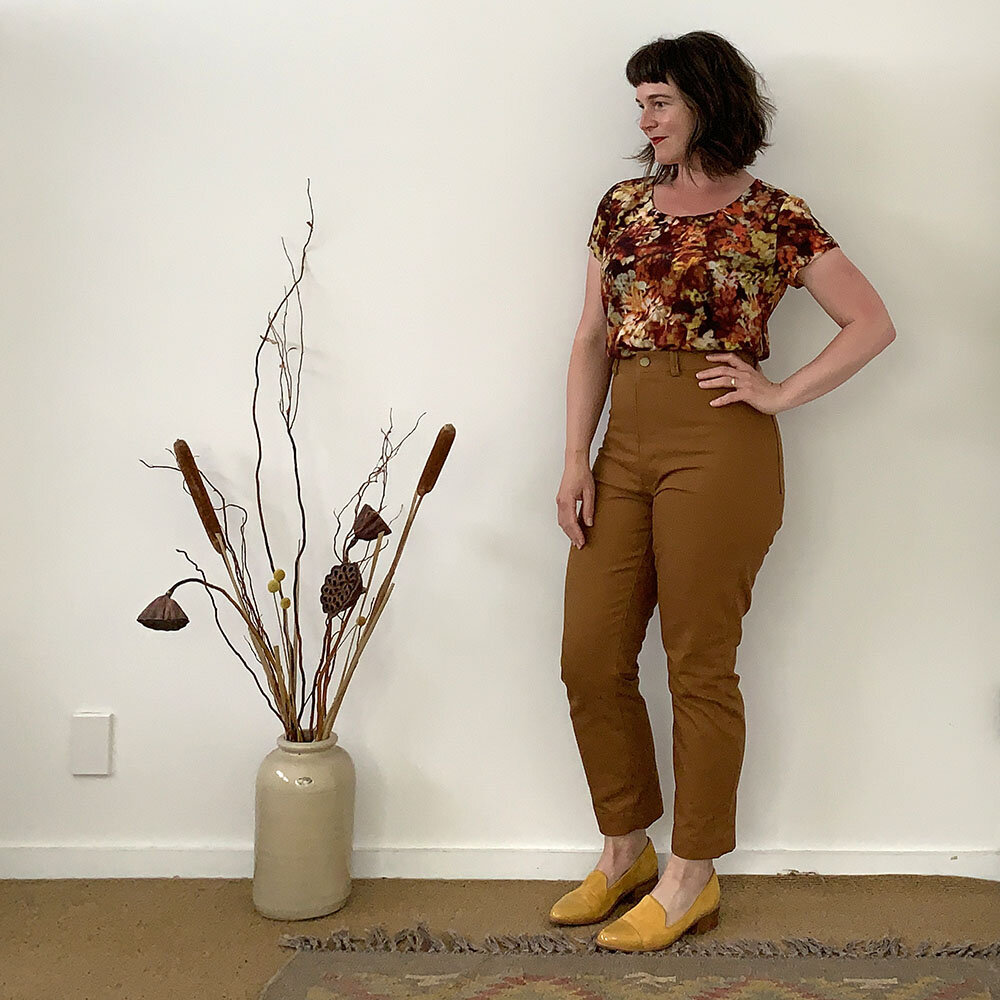
The time spent fitting my brown Philippa Pants was significant, but very well worth it, giving me a good baseline for then starting on my rigid denim pair…


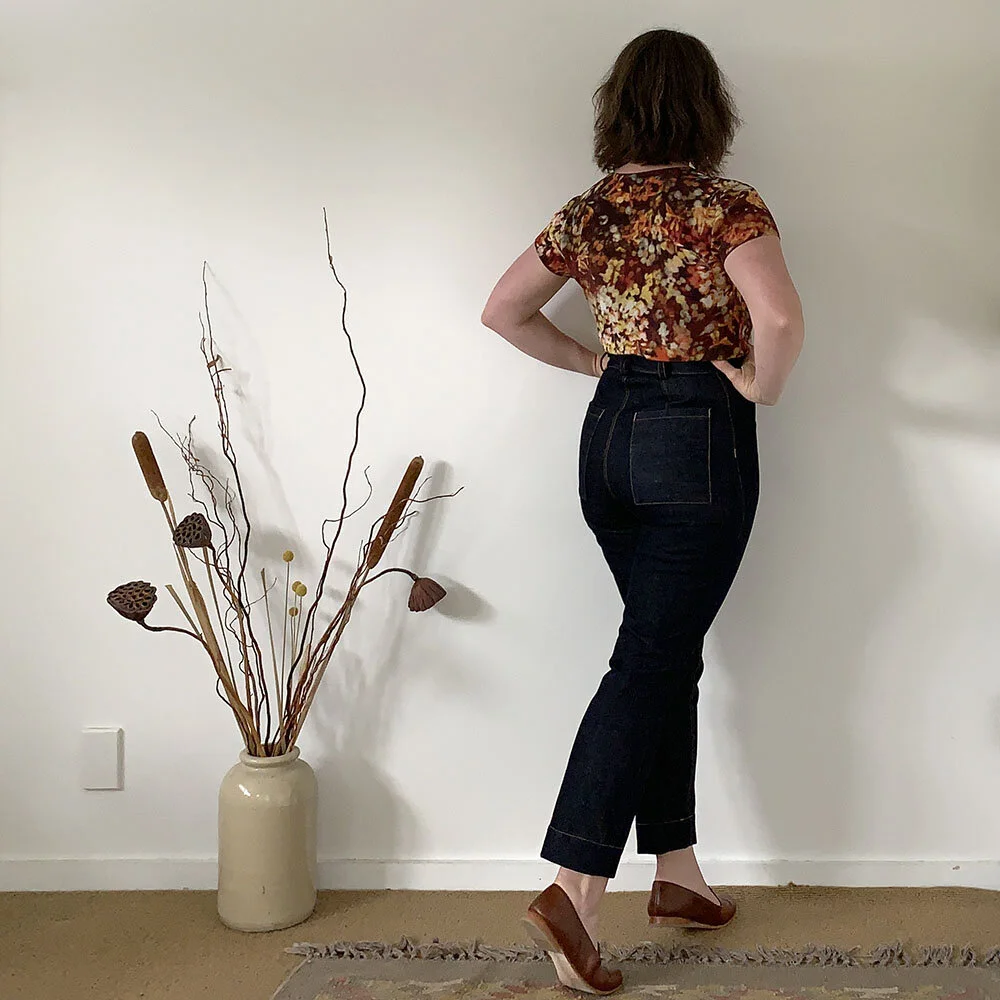
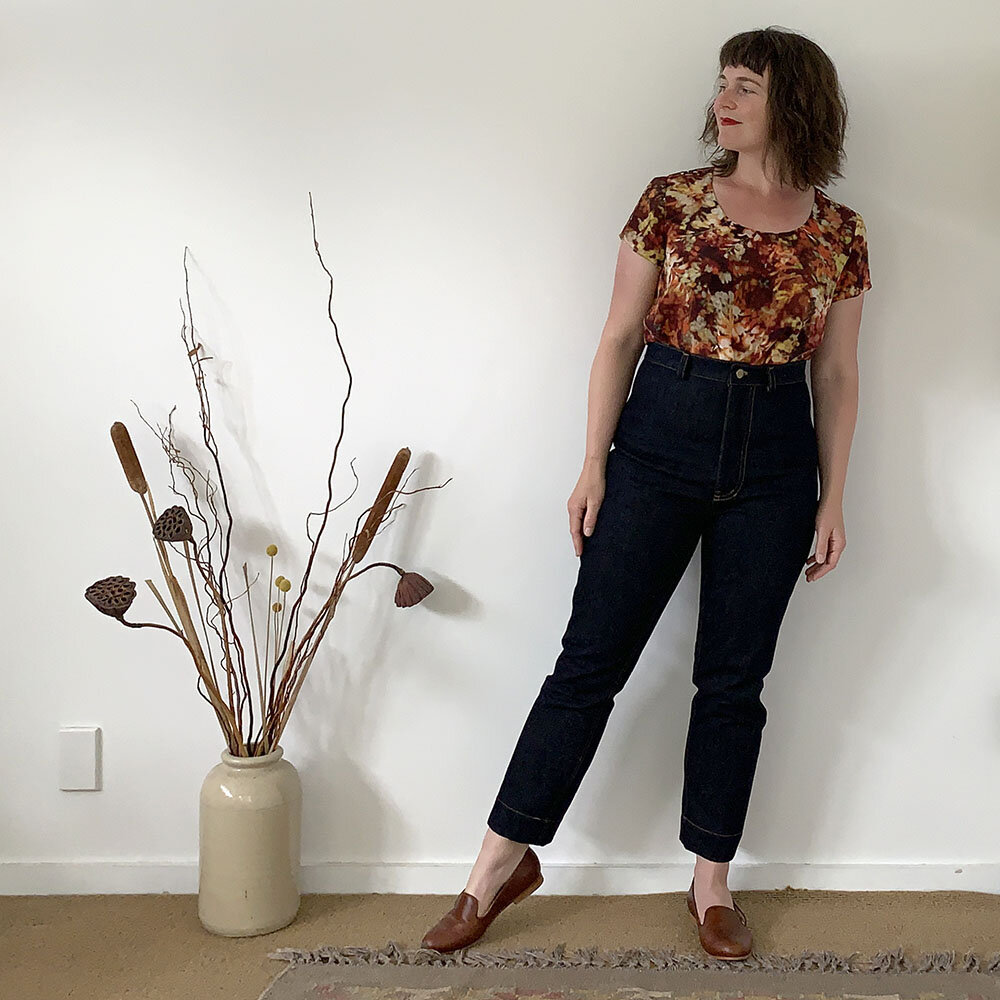
Rigid Denim and Topstitch Heaven

Armed with what I learnt from my teak pair of Philippa Pants, I turned to making myself a denim pair. Ever since rigid denim started blowing up all over the sewing world, I wanted to try it, and I’m so excited that I final have a pair of my own.
I started this pair by sizing down to a size 10, adding the various leg adjustments I arrived at on the teak pair. I also added 1cm to the crotch length—something that I needed to do for the Persephone Pants, forgot to do for the teak Philippa Pants, and was determined to do for this denim pair. That adjustment helped a lot with comfort levels! And, finally, I took still more out of the centre back and back side waist.


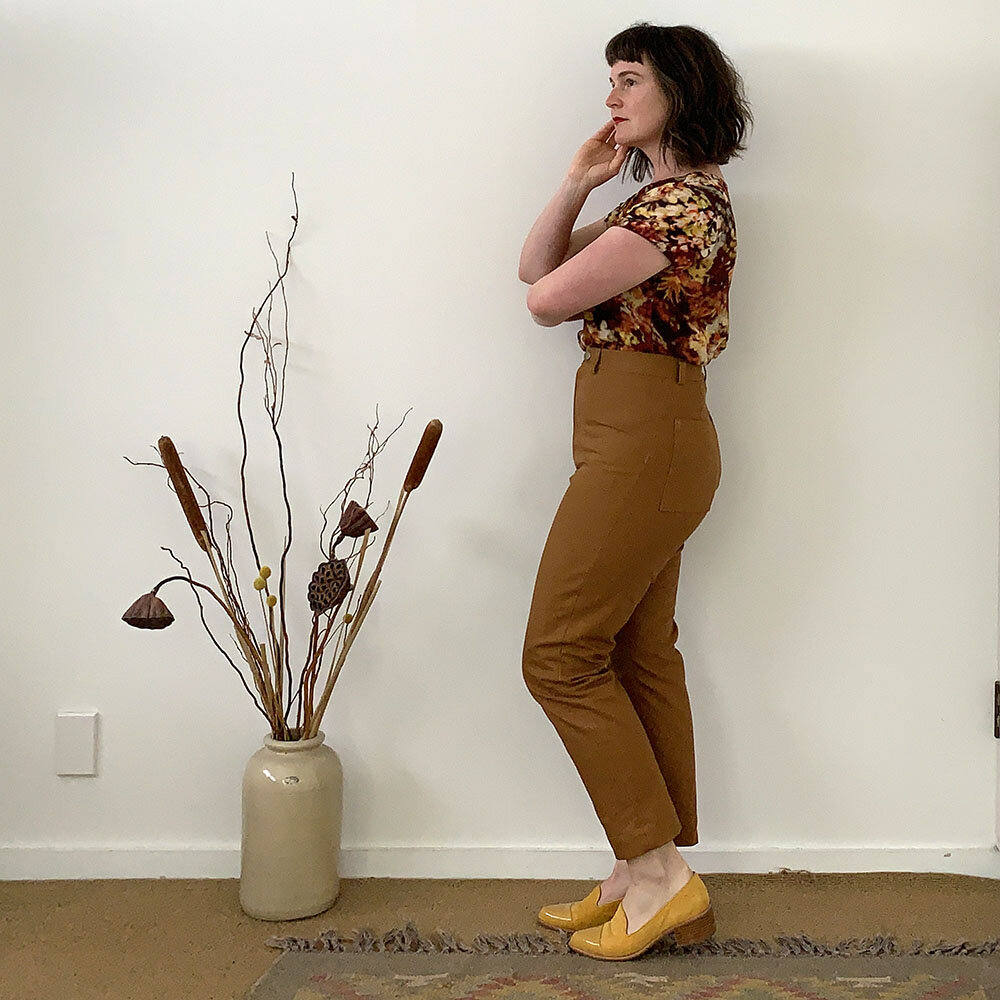
All the adjustments through the waist—extending the back rise, nipping bits out of the centre back, and using a curved waistband—have been revolutionary for me. I can’t tell you how much I love having pants that curve and cinch in on my swayback, that don’t dip down when I’m sitting, and that are truly high-waisted all the way around my waist was my RTW unicorn that I never found. Making my own pants? It’s all within my grasp!


For both my teak and denim Phillipa Pants, I decided to try something different with the topsitching. In the past, I have used Gütermann’s uncompromisingly heavy topstitching thread with reasonable success, but it’s always been a bit buggy. For both these pairs of pants, however, I decided to use Gütermann’s extra strong thread instead. This has two major benefits: it comes on a larger spool with more generous metrage (100m at $8.50 compared to 30m at $4.30 at one of my local sewing shops); and, while it is obviously heavier than all purpose thread, giving that great topstiched look, it’s not as heavy as the actual topstiching thread, which means it is W-A-A-A-A-Y easier to balance your tension between your bobbin and needle! I have far fewer skipped stitches and sewing machine meltdowns with this combination of threads, while still getting the look that I’m after. If you want to read more tips for topstitching, you can check out my earlier blog post here.

And several weeks in?


The benefit of being so slow to write my blog posts is by the time I get around to them, I have a fairly good idea about how the garment is wearing (albeit, I also have a heavy backlog of blog posts to write!). So how have the Philippa Pants shaped up?


There are important differences between duck cotton canvas and rigid denim that should be factored into your plans. Where rigid denim will relax and mold to your shape over time, duck cotton canvas will bag out far less and (I’ve read) can also shrink over time. And that’s been somewhat true with my two-pairs of Philippas.
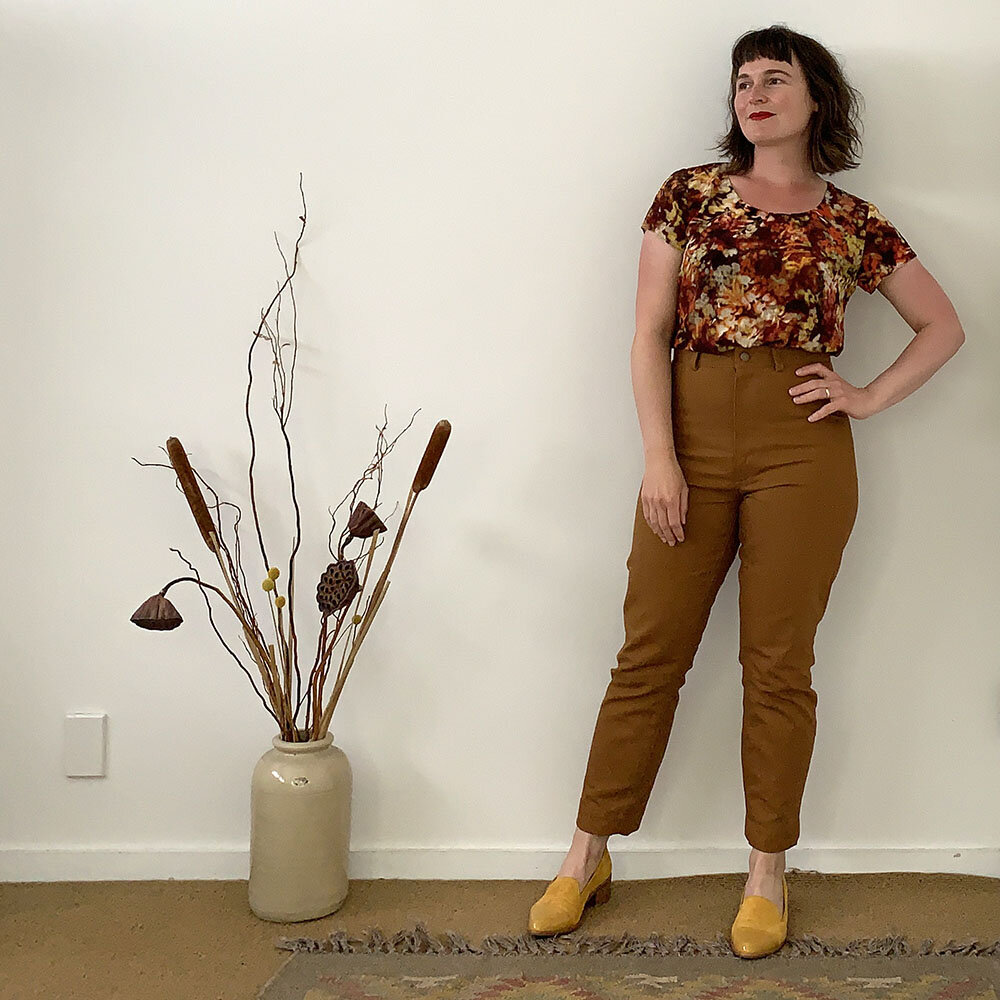
Let’s start with the teaks: in all the fitting of them, they ended up a smidgen on the small side: great for standing up in, a little challenging to sit down in. I think they may have even come in at smaller than the size 10 I then cut my denim ones at—oops! Over time, I think that the shear force of my bod on the fabric has stretched them a little, making them much more comfortable than before, but they’re still holding their shape beautifully. I like to wear them for more brief occasions—going out and looking a little flash—but they’re not an all-day pant for me.
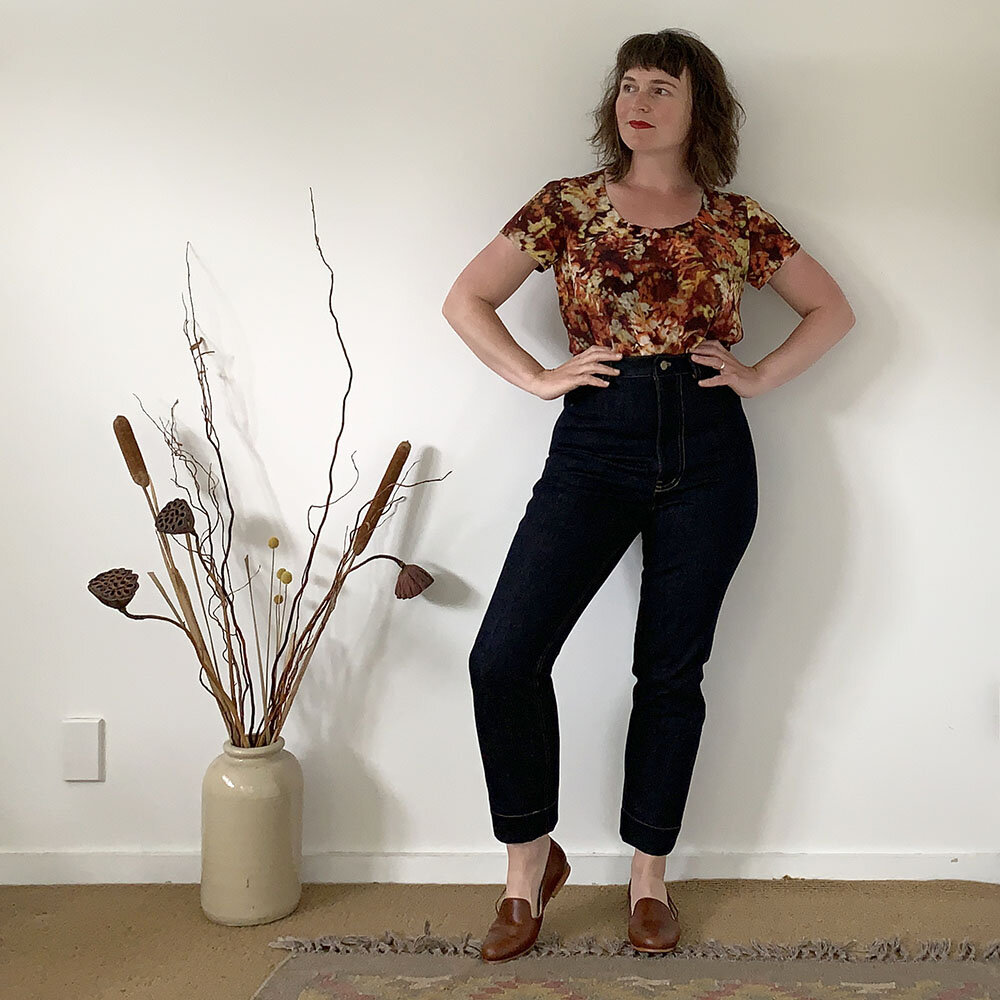

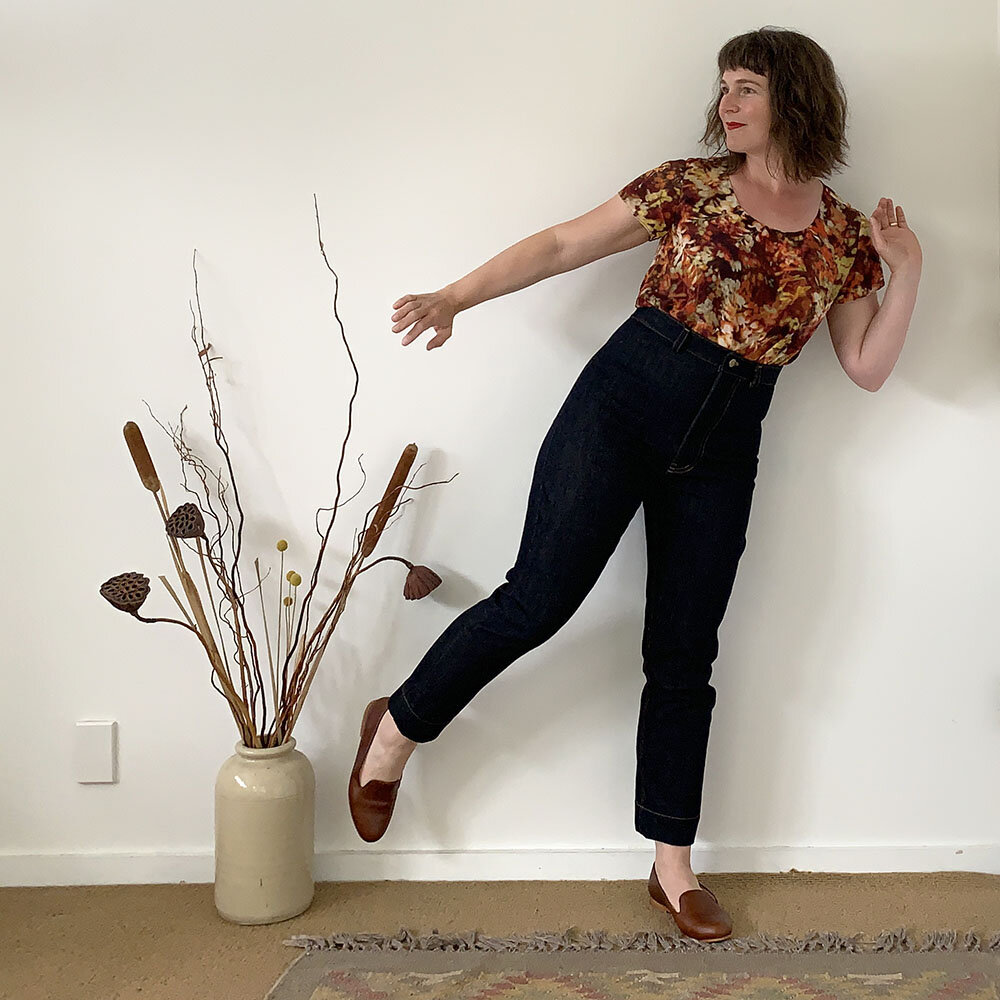
As for the rigid denims (started at size 10 but nipped in a little more at the waist and with the various leg adjustments), they’ve relaxed to a wonderfully comfortable looseness through the leg that tightens up again after a wash. The waist is a good fit, not relaxing out quite as much as the leg. However, they are an overall more casual fit. I wear these pants all the time, dressed up, dressed down, they’re super-comfy. I think if I’m to make another pair of denim Philippa Pants (probable) I would size them down further, so that when the denim does relax, it’s a little more fitted.
A Murder of Philippas
All in all, my Philippa-Looza was a roaring success!
When I completed my two-pairs of Philippas, I asked on Instagram what the collective noun for Philippas should be. My favourite response from @sewnawardrobejournal was, “Definitely a Murder of Philippas, because you are killing it, in the best way possible!”, which induced much blushing, but I absolutely love and wanted to record here for posterity. So, a Murder of Philippas it officially is!


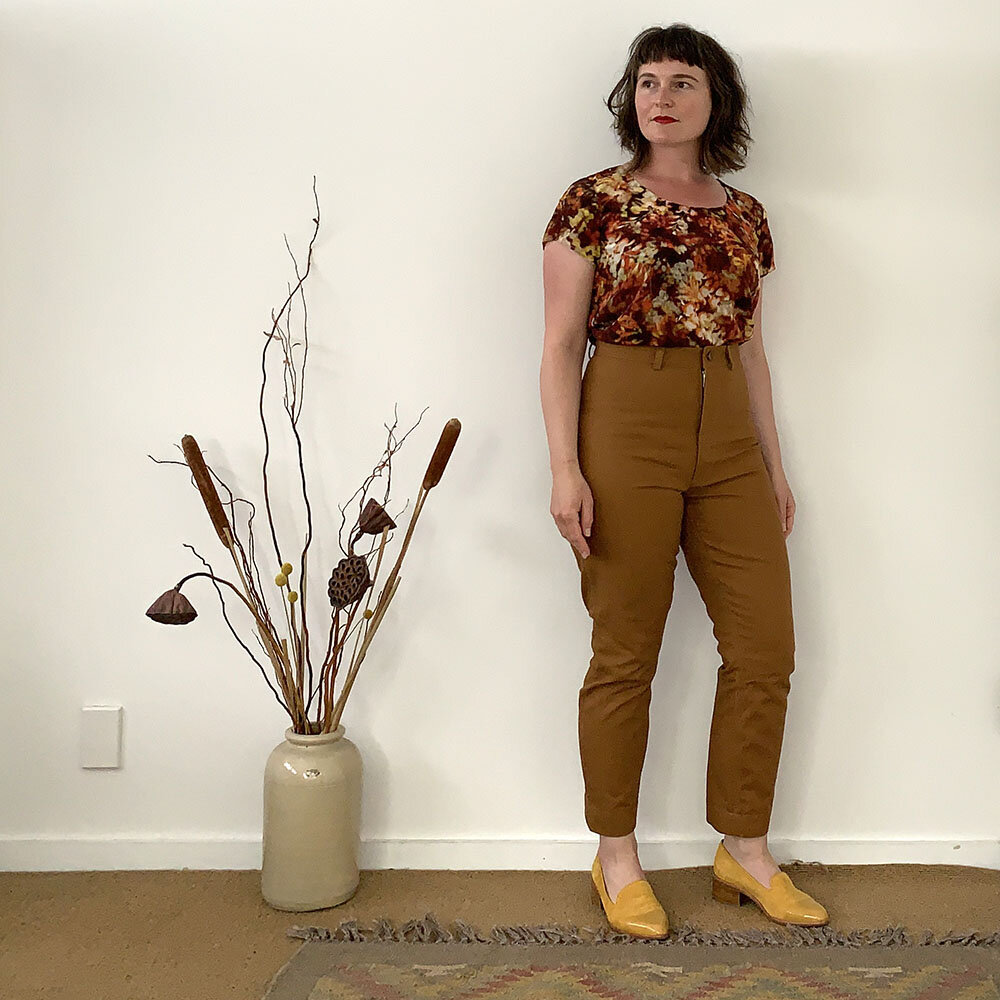
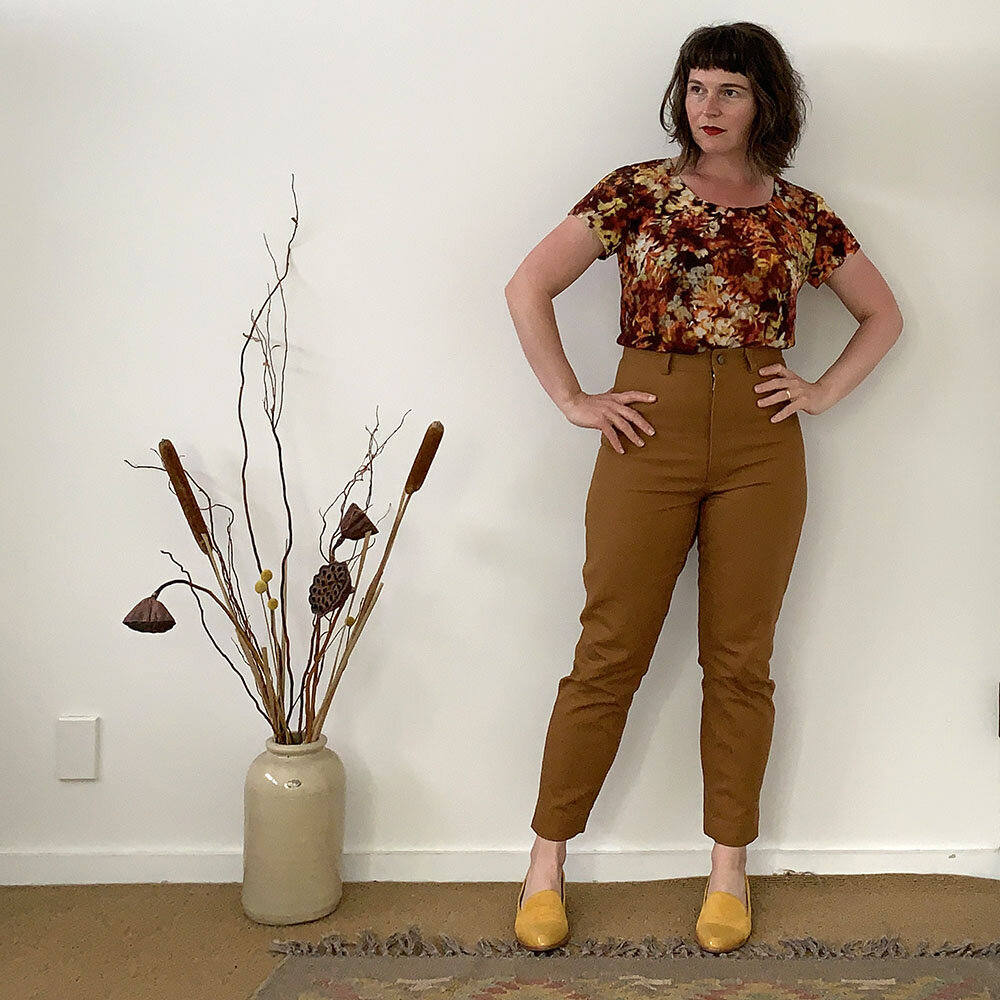
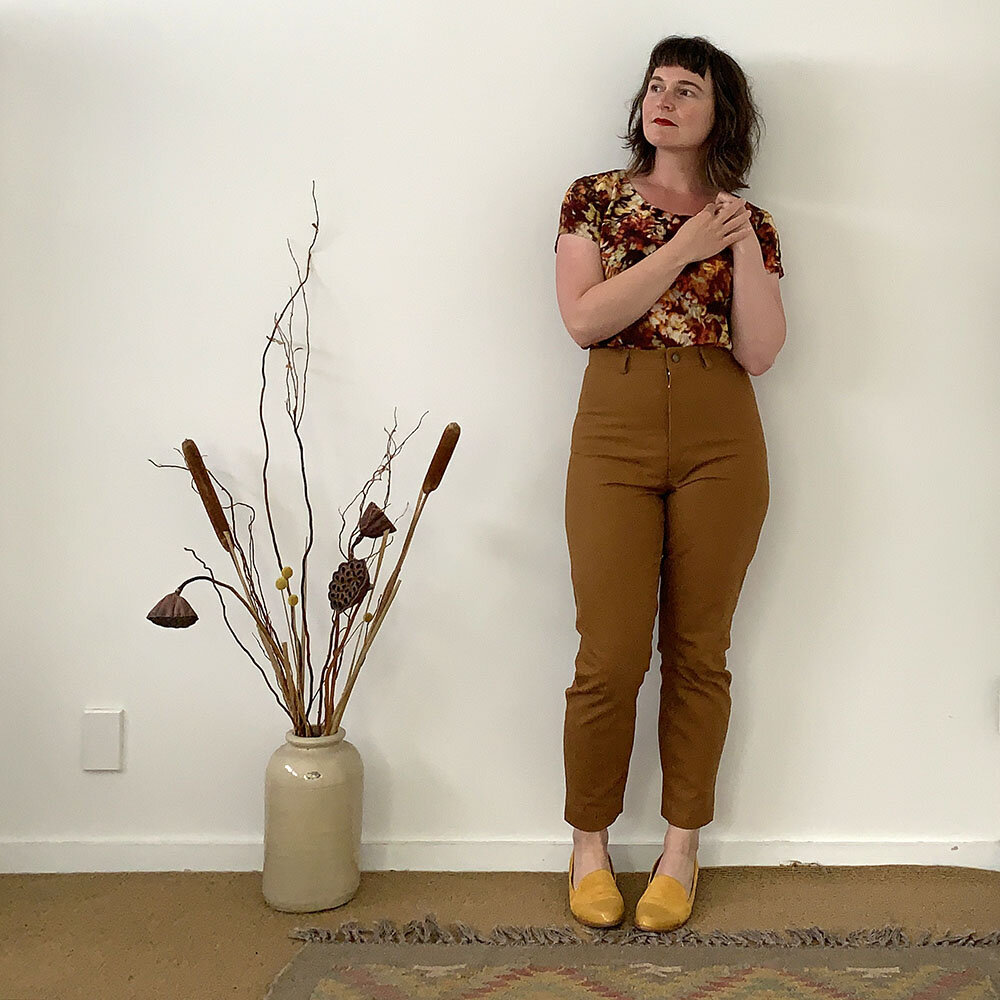
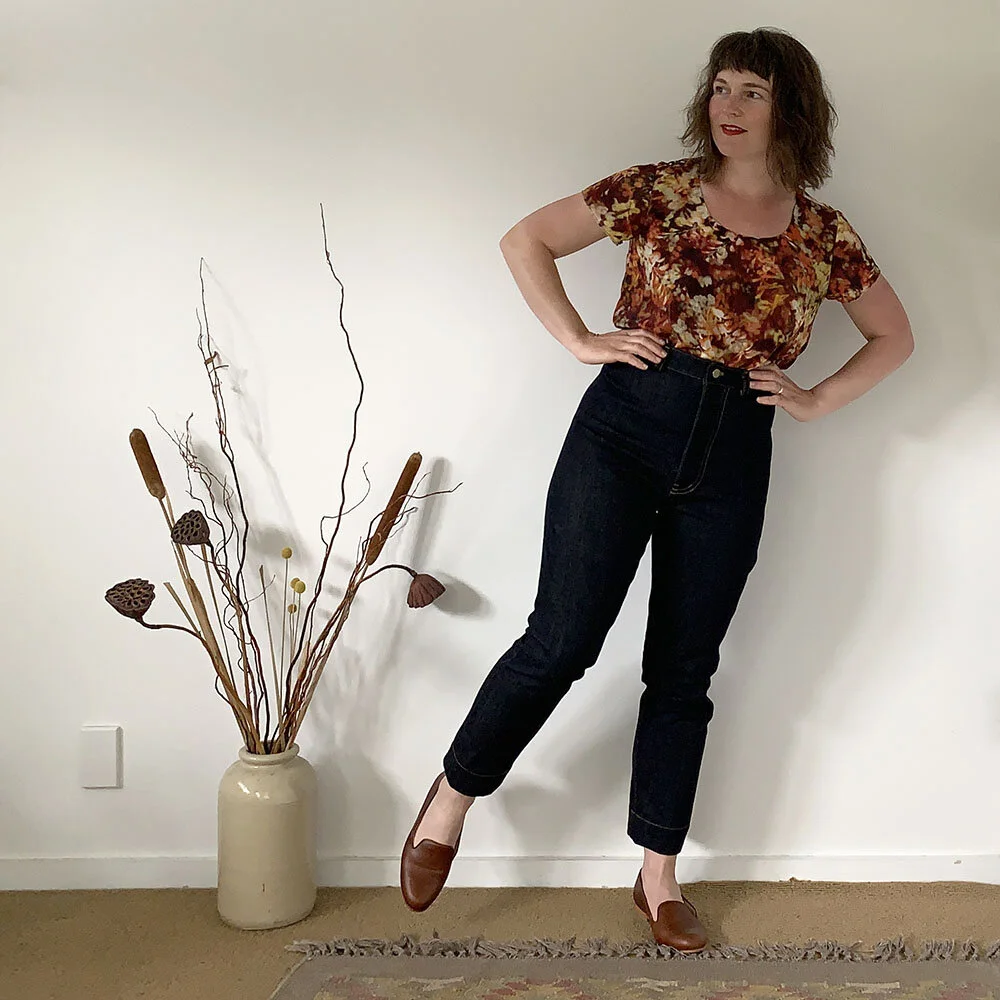
Although I went a long way off piste from the pattern with the fit of my pants, fit is extremely personal and I’ve long let go of the idea that something will fit me straight out of the envelope. What I love about the fit I arrived at is they feel like a very classic, Audrey-Hepburn-esque cigarette pant: slim-fitted but not a skinny leg, high-waisted, and ending right at the ankle bone. And the pattern itself was an excellent place to start at for arriving here. Anna Allen’s patterns are thorough, clear and well-written. The layout and illustrations are easy to navigate, and the fitting support, in the form of her booklet, was great.


I’m certain this pant pattern is one that I’m going to return to again and again, perhaps next time with some angled pockets at the front.


